As if your day didn't just get better.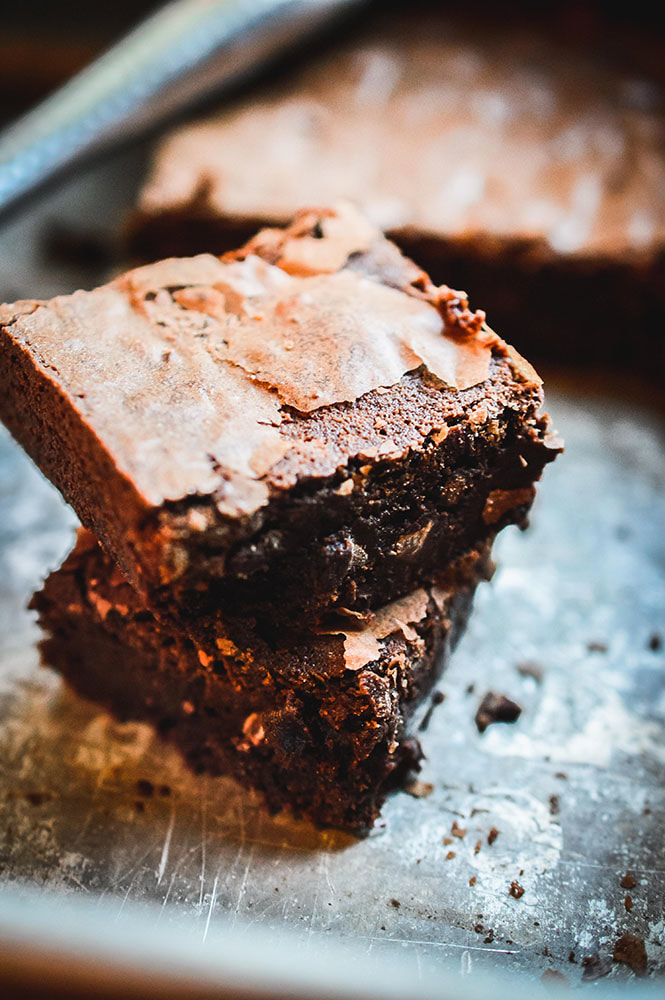 Hi, Haley here, just wanting to give my cute little site a #smol shoutout for it’s second year of existence. I started this baby two years ago, and while I took a several month hiatus due to the fact that I was busy getting my degree, I’m back and here to appreciate #tinycrumbs for a two year birthday and few week celebration of having an Instagram account. Anyways. There you are, it's a Sunday night, you're in your jammies, and you just got a hankering for brownies. But, *PLOT TWIST* your roomie stole your last box, so *big sigh* guess you gotta pull out the big guns for this one. Enter: Tiny Crumbs. So. Over the past few months, I’ve figured out that my digestive system appreciates it when I don’t have a ton of gluten….ya girl is a pasta hound and I sleep on a loaf of bread so this is difficult…THAT SAID, I have been on a search for gluten-free alternatives for baking specifically! Enter: Bob. Bob created the most beautiful gluten-free flour, perfect for baking. Who the HECK is Bob? Why, it’s Bob of Bob’s Red Mill….notorious for their several varieties of flours and protein powders, made from quinoa, corn, hazelnuts, almonds, coconut, tapioca….etc. They also have regular flour too. In this case, I found his Gluten Free 1-for-1 Baking Flour (made from a perfect blend of rice flours and tapioca starch) worked beautifully for this recipe. F U R T H E R M O R E, since Ghirardelli has recently started adding dairy into their chocolate chips (*tsk tsk*) as well as in their previously loved brownie mix, we have been searching/seeking all over to find a homemade brownie recipe that truly outshines all others. Enter: Sally. My girl Sally from Sally’s Baking Addiction is the #kween of dessert knowledge. She’s a recipe tester and sugar fanatic, so of course I bopped over to her site to see what’s up in the land of brownies. I gathered my data, researched competitors, read articles, skimmed novels….all to come up with this beautiful gluten-free, dairy-free fudgy, chocolatey, dense but chewy brownie recipe just *clap* for *clap* you. *Note* I tried this using coconut sugar to try and round out the whole GF/DF scenario and make it a refined sugar-free trifecta...but they just didn't come out all that great and maybe I didn't measure the chocolate properly....but. That's why I jumped back to the regular old stuff. 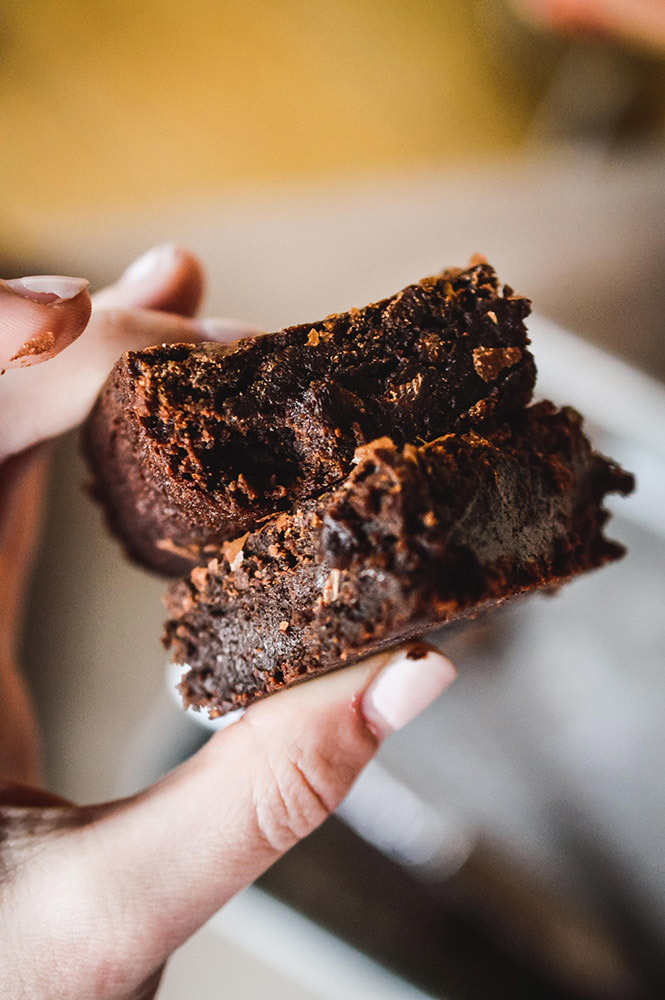 Ingredients
Instructions
1 Comment
...with an orange, cinnamon dairy-free buttercream.Do I have your attention yet? Maybe this will help: 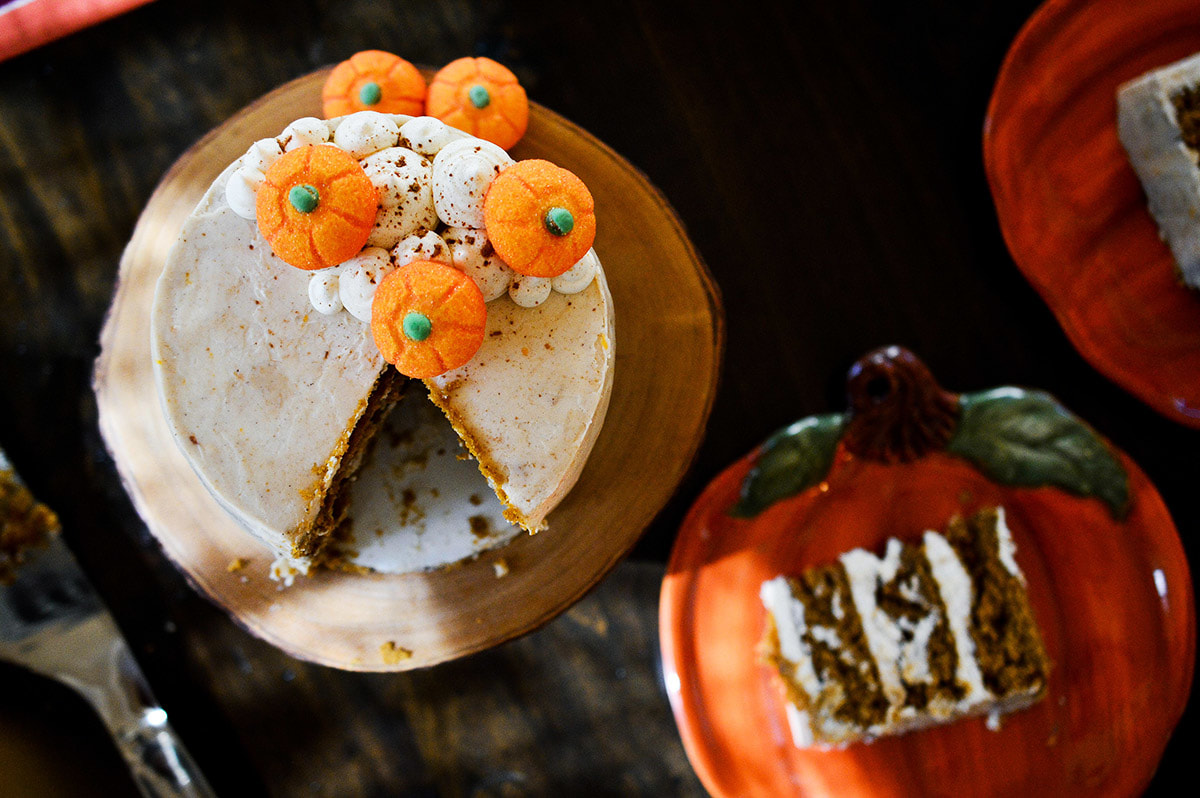 There we GO! FOLKS. Hey! HI! Howdy! I am SO excited that it’s FINALLY October, so I can tell you all about this pumpkin cake I made a few weeks back. There’s a long, emotional backstory to why I made it when I did, but I will save you the details and instead discuss my love for all things pumpkin. Here’s the deal. I’m not a huge PSL girl (aside from this one product I found at the store), but when the fall air starts tingling, my tastebuds immediately seek out any pumpkin baked goodie. We usually make chocolate chip pumpkin muffins, but this time around, I wanted to make a CAKE. My new-found love for cake baking sparked my interest in making a fall-spiced, autumn-inspired pumpkin cake with a zesty orange, cinnamon buttercream frosting — all dairy-free of course. I stumbled across Sally’s Baking Addiction about a year ago, and every recipe I try from her, she absolutely NAILS the flavor, texture, and technique. So, of course I adapted her pumpkin cake recipe to be dairy free and then added my own buttercream recipe (here) to take it up a notch. 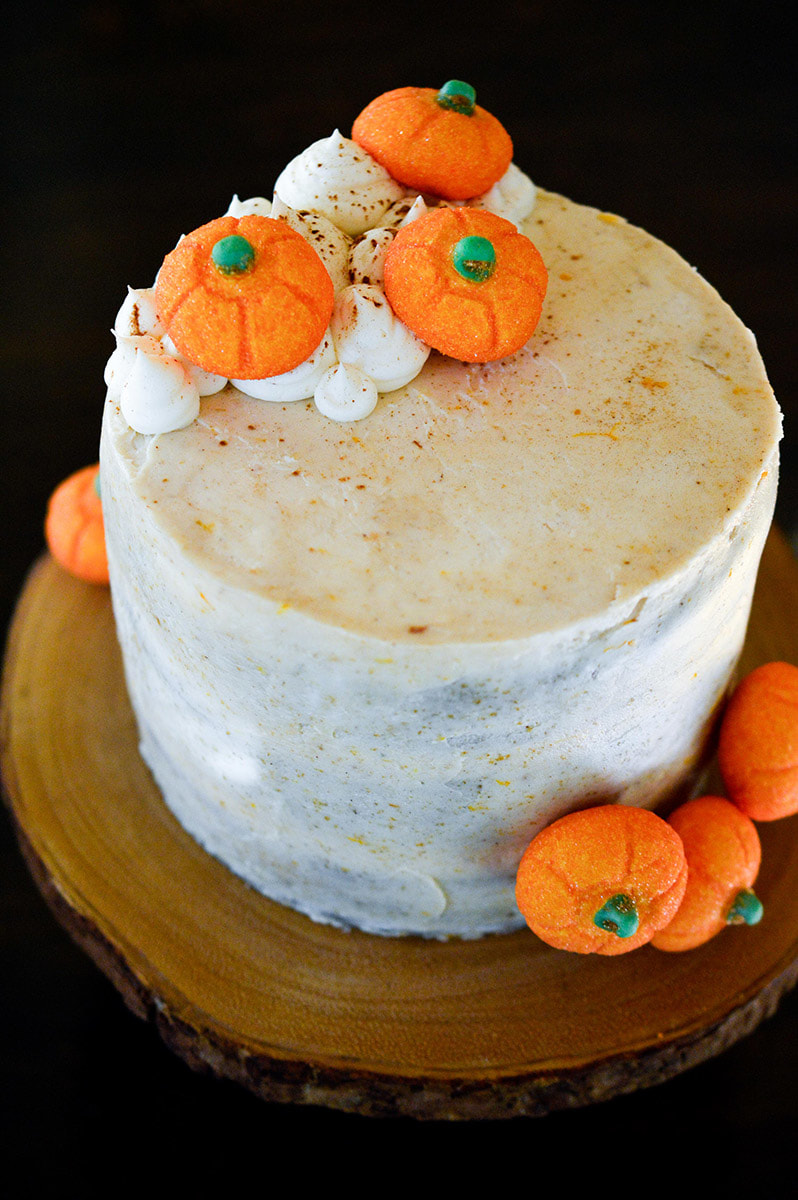 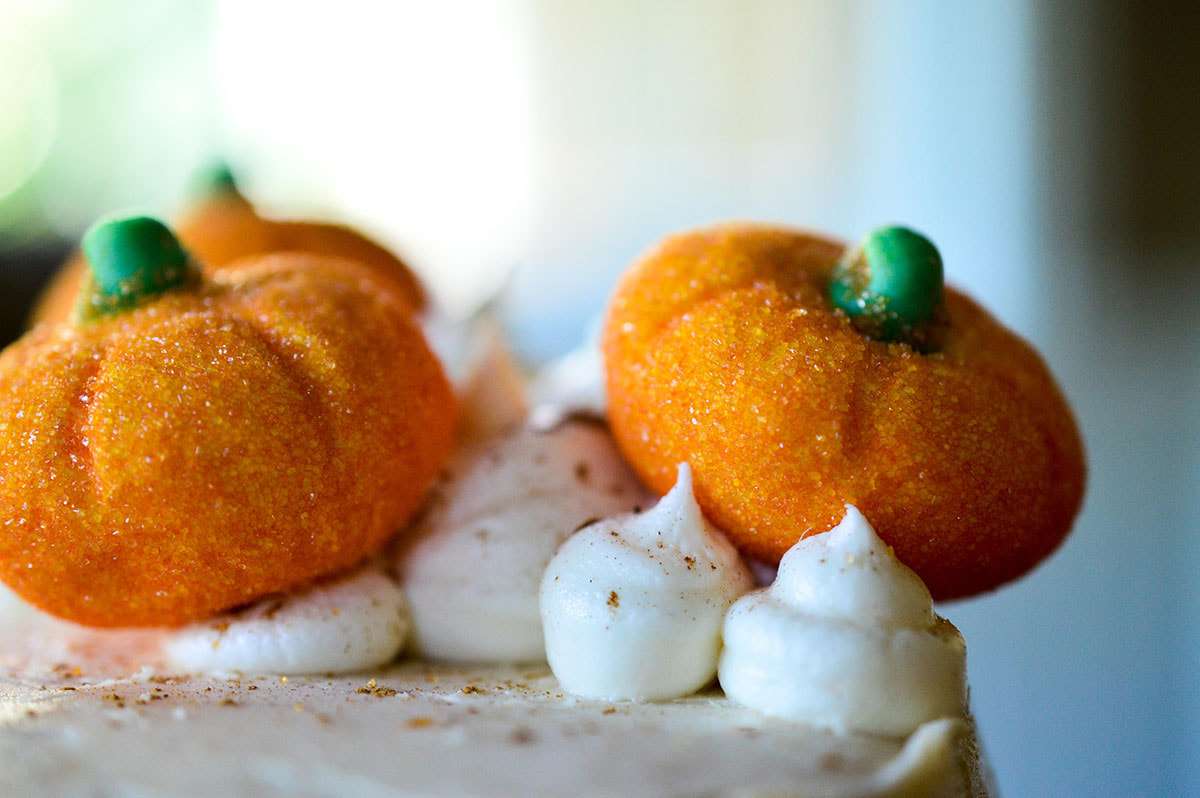 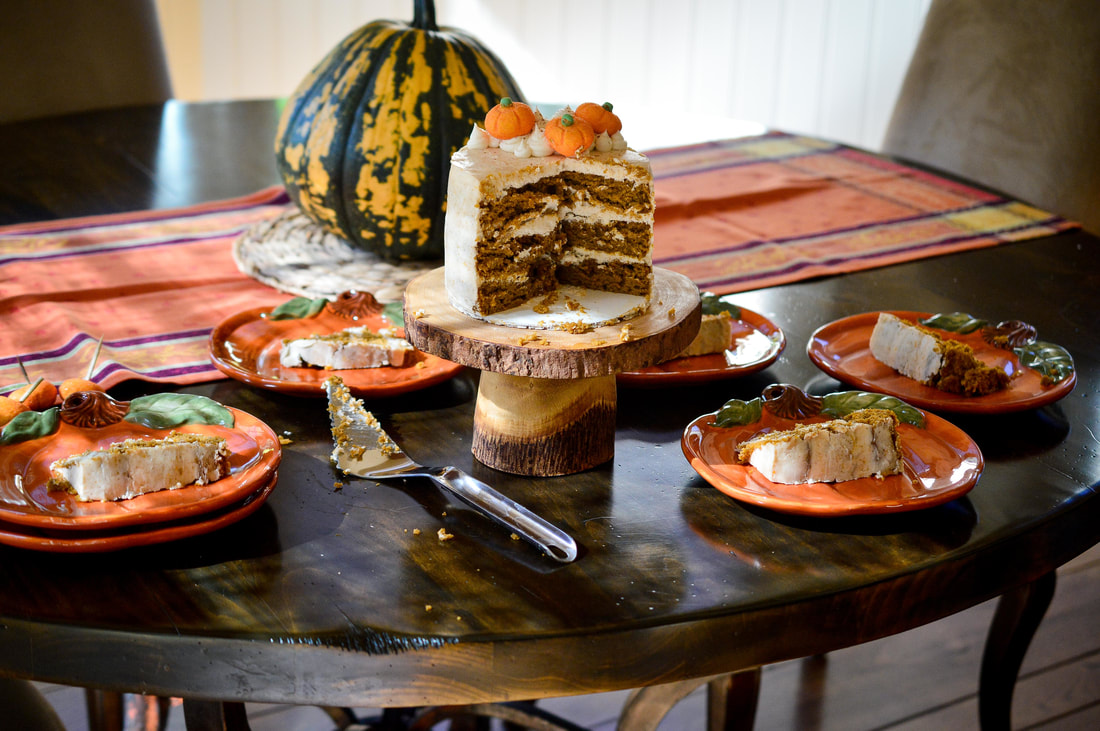 I appreciate pumpkin goodies that actually taste like pumpkin and are properly spiced accordingly. If you tell me something is pumpkin, I'm going to expect that your claim is TRUE and will surpass my expectations...so that said! ON WITH THE GAMES! Fam, this is something you will be making throughout the fall season, so get those pantries stocked up with all the pumpkin you got because we are going places with this baby. Also, the cute lil pumpkin guys on top of the cake? Yes. I know you were wondering. No, I didn't make them — I don't have the proper marshmallow techniques HOWEVER, someone at Williams-Sonoma does, and I was able to pick these bad boys up up a few weeks back. Hurry! There's a sale happening and you can get a discount! Onward. 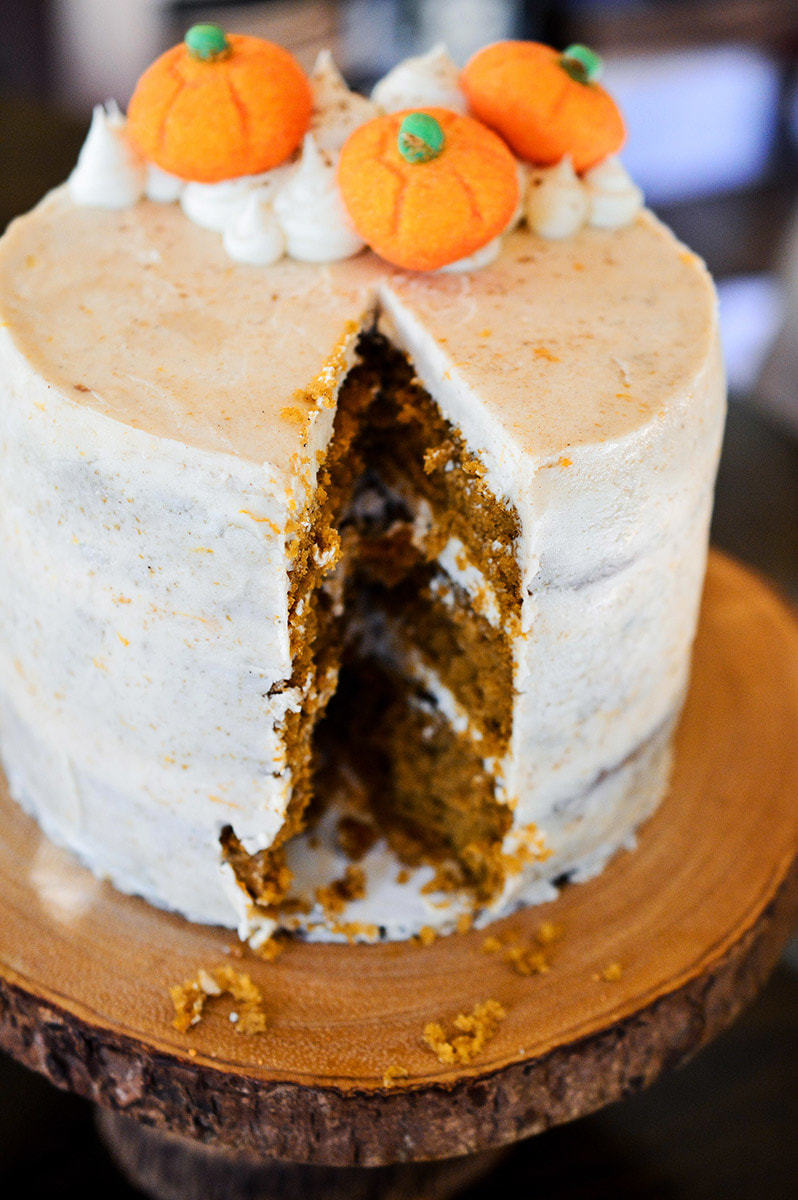 Ingredients Recipe adapted from Sally's Baking Addiction | Makes a 3-tiered 6" cake Cake:
Orange Cinnamon Buttercream:
InstructionsCake:
Frosting:
Assembly — Feel free to frost to your heart's content, but here are some helpful tips:
|
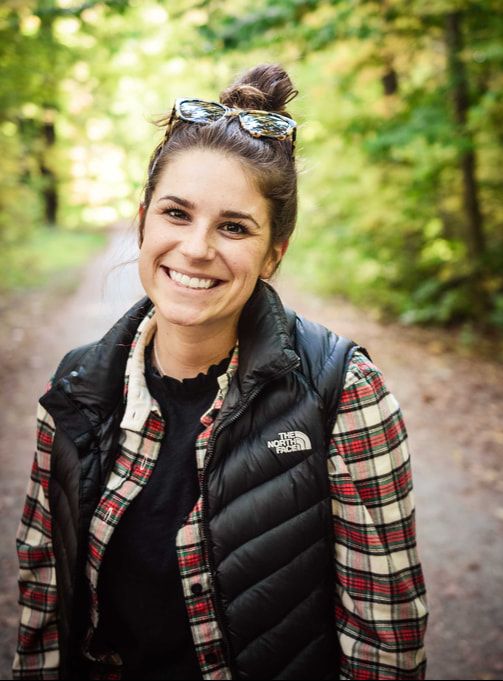
About HaleyBringing a little slice of California to the Northeast with a "put an egg on it" kind of mentality. Archives
December 2019
Categories
All
|